1. Log in WebAccess Project management
2. Choose one project and Click Google Map
3. The window will connect and show Google Map
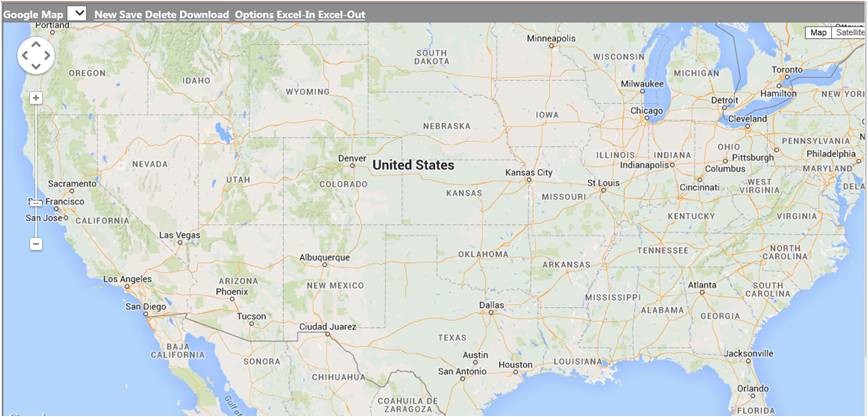
4. Click New to create the new map.

5. Drag the map and Click the left button zoom in and zoom out of Google map to choose the map’s ratio.
6. Choose the location.
7. Click twice on the location to add the Marker Information, and the window will show the configuration tool.
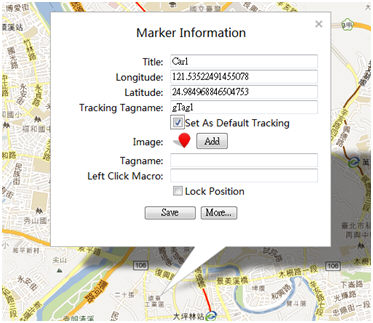
8. Type the title. The marker can’t save without the title.
9. When choosing the location, the Latitude and Longitude of the location will be shown on the Marker information.
10.Go to the Image, click the ADD
11.ADD: you can upload images as icons in the map, the notice is the file of image must be less than 10 KB. If you want to delete the image you uploaded, click Remove under the image.
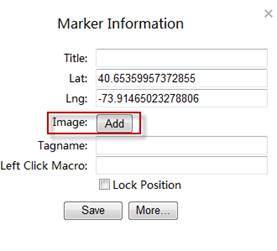
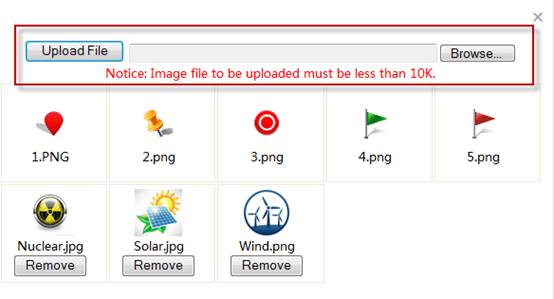
12.Click ADD: Choose the image you want as a marker, move the mouse to the image and click. You can choose one or more images, but the first image you choose will be the default image of all images.
13.The marker’s image can change with the measure value. First, click the image and give Value to the image. The value can be one or more number, the range and mix the number and range. When running the WebAccess, the tag value get the set value, the image will be shown on the map.
14.Type the Tagname and Left click Macro.
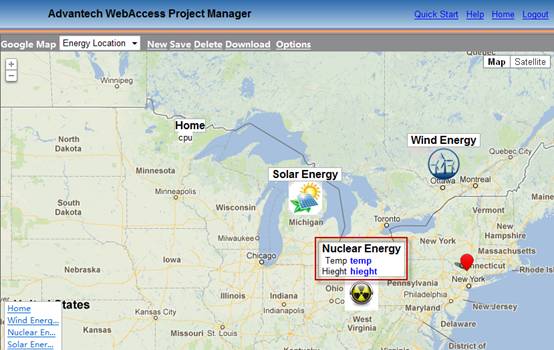
15.Click Save on the Marker Information. The image and title will be shown on the map.
16.Change the marker information. Click the image on the map, and the window of marker information will pop up.
17.Change the location of the marker. Use the mouse to drag the image to new location. Add more marker information. Click More on the Marker information to add three text labels. As for the picture, there are three labels, one Label has one Label name and Tagname.
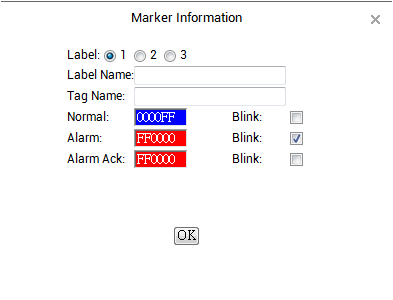
Label Name : The Name of label
Tag Name : Type the Tag Name to connect the Web access node, if the name is the same as the tag node. The marker can show the value of the tag node on the map after typing the Tagname.
Normal / Alarm / Alarm Ack : Select Colors and blink for Normal, Alarm and Alarm ACK State to display Alarm Status with Tag Name.
Adding two Labels and Tagnames shown on the map :
Delete Marker: Click the left button on the icon, then from the popup window click Delete.
Setting Marker: On the lower left quarter, click the set marker, the map will move to the location of the marker on the map.
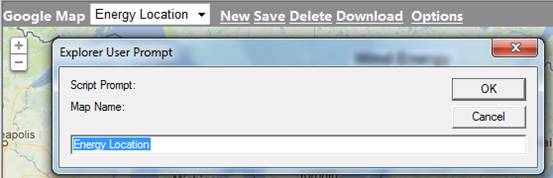
Save map: After creating tag locations, click Save on the top bar of Google map. Type the Map Name and click OK. After saving, the coordinate of the center and ration will become the default.
Delete Map : Click Delete to cancel the map on the screen and the saved map
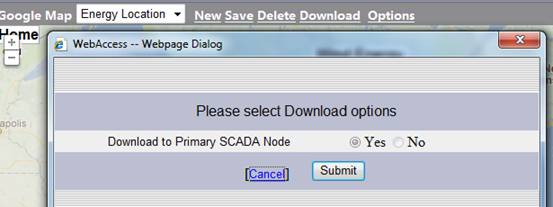
Download map: Click Download to download the map to the DAQ. View DAQ will update the map.